An over-the-toilet cabinet can fit the wall perfectly and still be wrong for your bathroom. A lower crossbar may collide with the water supply valve, a shelf may prevent the tank lid from lifting, or an open cabinet door may hit your shower enclosure. Start with the space the toilet needs to remain usable and serviceable, then work out how much storage you can add.
For a small bathroom, the best choice is usually the shallowest cabinet that holds your essentials, leaves plumbing accessible, and can be secured according to its instructions. The comparisons below focus on cabinet configurations rather than named products, so you can use them to assess listings with different dimensions.
Which cabinet configuration suits your bathroom?
| Configuration | Best suited to | Main tradeoff | Check before buying |
|---|---|---|---|
| Shallow cabinet with enclosed doors | Keeping toiletries and spare supplies out of sight | Doors need opening space; limited depth restricts larger items | Internal shelf depth and full door swing |
| Upper cabinet with an open shelf below | Separating everyday items from backup supplies | The lowest shelf may crowd the tank | Clearance for tank-lid removal and flush controls |
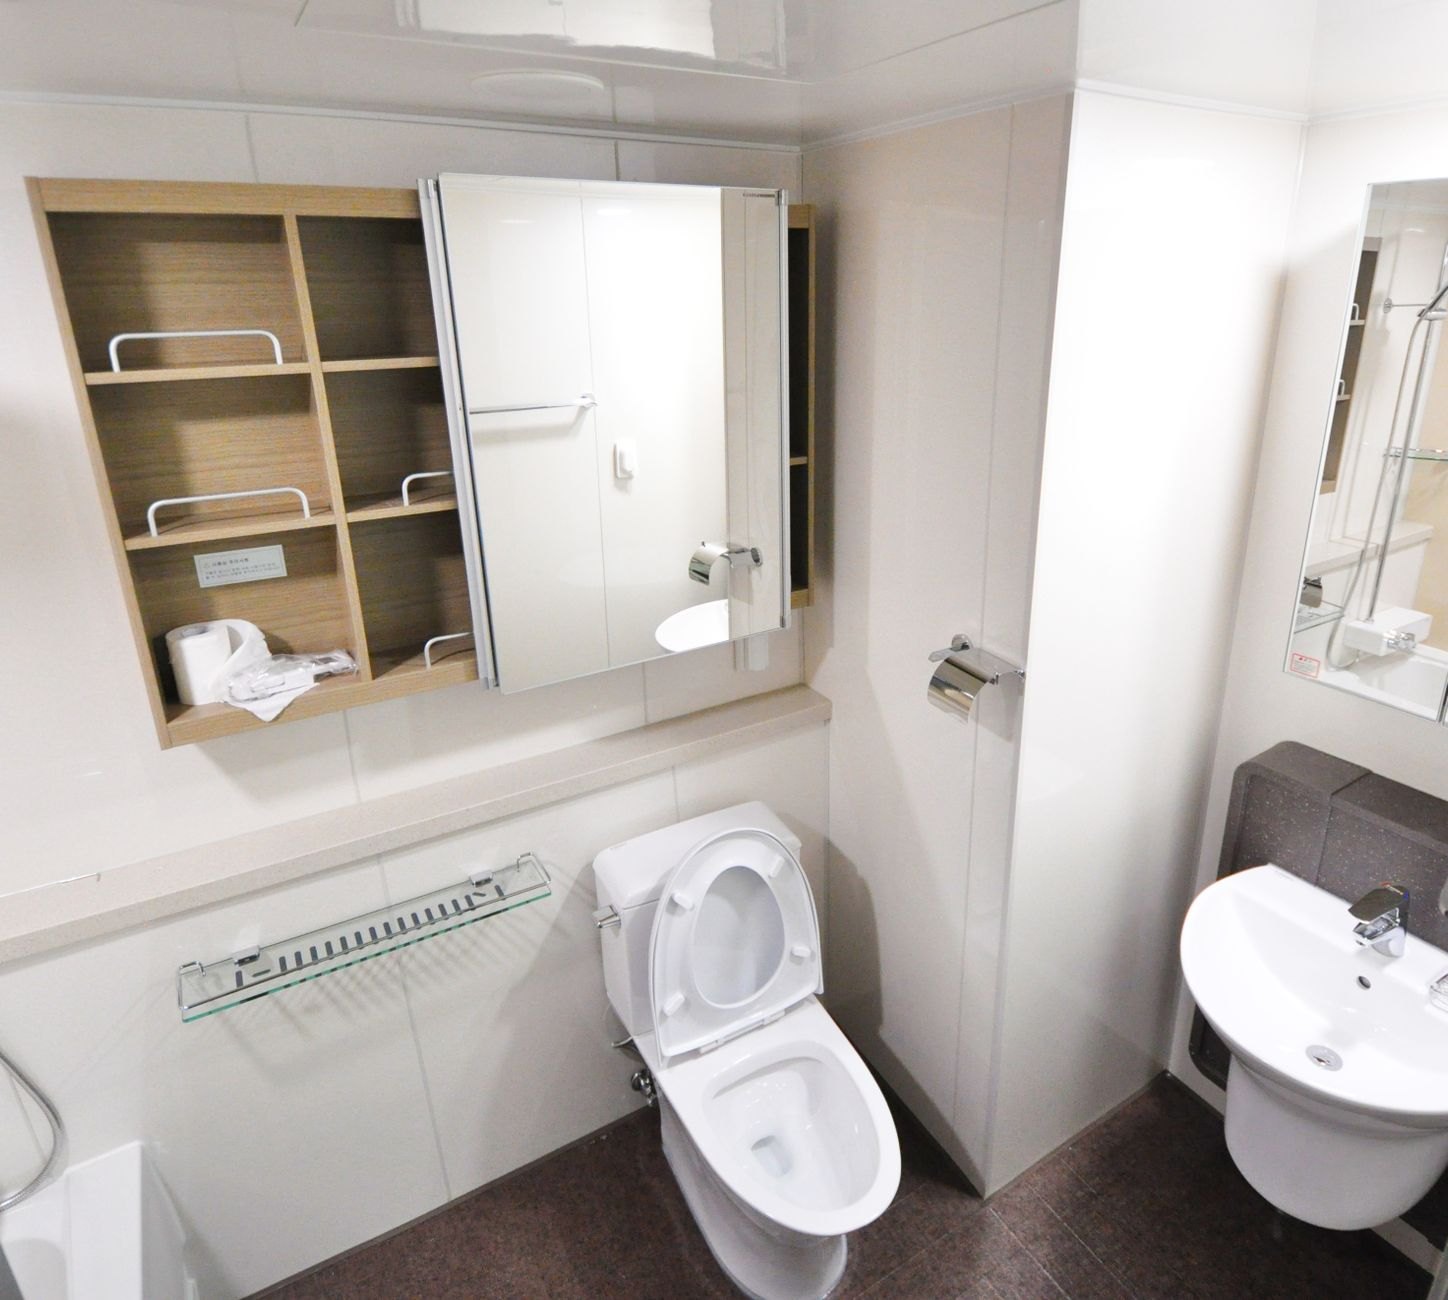
| Sliding-door cabinet | Bathrooms with little room for outward-opening doors | Only part of the cabinet is accessible at once | Usable opening width and track-cleaning access |
| Tall cabinet with adjustable shelves | Storing a mix of bottles, folded towels, and small baskets | Upper shelves may be difficult to reach | Shelf adjustment range and anchoring requirements |
| Cabinet with a configurable lower brace | Working around an awkward toilet or supply connection | Alternative brace positions must be permitted by the manufacturer | Assembly diagram and approved brace locations |
Measure the toilet area before comparing listings
Use a tape measure and record the available space at several heights. Baseboards, pipes, and a tank that sits slightly off-center can make the usable opening smaller than it first appears. Measure the actual bathroom rather than relying on the toilet model’s published dimensions.
1. Find the clear width between the legs
Measure the widest part of the toilet that will sit inside the cabinet frame, including the tank lid if it overhangs. Compare this with the cabinet’s clear internal opening, not its overall width. A unit described as 25 inches wide does not necessarily provide a 25-inch opening between its legs.
Also measure the surrounding wall space. Leave enough room for cleaning and for your hand to reach controls. If the toilet is close to a vanity, check whether a cabinet leg would interfere with the vanity door or drawer.
2. Allow for tank-lid removal
Measure from the floor to the top of the tank lid, then check the height of the cabinet’s lowest shelf or horizontal panel. A shelf that barely clears the closed lid may still prevent you from removing it.
Carefully check how your lid lifts away and how much working space the movement needs. For example, a 31-inch-high tank under a shelf at 32 inches leaves only one inch above the lid. That measurement alone does not establish that the lid can be removed. Use the actual removal motion to judge the gap.
3. Test access to flush controls
Top-mounted buttons need room for a hand above the tank. Side levers need clearance beside it, including space for their movement. Recessed controls can be especially awkward when a cabinet leg sits close to the tank.
Mark the proposed shelf and leg positions with removable tape. Reach for the flush control as you normally would. This simple check can reveal a cramped arrangement that looks acceptable on a dimension drawing.
4. Map the supply valve and hose
Locate the shutoff valve, its handle, the supply connection, and the hose route. Record their height above the floor and distance from the wall and toilet centerline. Check that you could still reach and operate the valve after installation.
Do not plan to squeeze a hose behind a brace or force it into a tight bend. If the listing does not show the lower supports clearly, request an assembly drawing before buying.
Lower support placement can decide whether a cabinet fits
The lower crossbar deserves as much attention as the shelves. Depending on its height and depth, it may meet the toilet base, a pipe, the supply valve, or a baseboard. A cabinet can have generous tank clearance and still fail at floor level.
Look at the full assembly sequence, too. Some configurations may require the frame to be positioned around the toilet before a rear brace is attached. Check whether you will have enough access to install those fasteners in your bathroom.
- Fixed rear brace: Compare its exact position with plumbing and the toilet profile.
- Multiple approved brace positions: Confirm that one position clears your obstacles while following the instructions.
- Low side rails: Check for interference with the toilet base and cleaning access.
- Wall attachment: Confirm where the brackets land and what wall fixing the manufacturer requires.
Never leave out a structural brace simply because it is inconvenient. A removable part during assembly is not necessarily optional in the finished cabinet.
Choose door style around the room’s movement
Hinged doors for straightforward access
Hinged doors can make shelves easy to see and organize, but they need clear space in front and beside the cabinet. Check both doors against nearby walls, mirrors, shower screens, and the bathroom entrance door. Include handles in your measurements.
Use cardboard to represent a door if the space is tight. Swing it through the expected opening arc. Also consider whether you can comfortably stand in front of the toilet while taking something from the cabinet.
Sliding doors for limited opening space
Sliding doors avoid an outward swing, which can help beside a shower enclosure. The tradeoff is a smaller access opening at any one time. A wide basket might fit on the shelf yet be awkward to remove through that opening.
Check the track design and how you would clean it. Compare the accessible opening with the objects you intend to store, rather than judging capacity from the cabinet’s external width.
Mixed open and closed storage for daily routines
An open shelf beneath enclosed storage can hold frequently used items while keeping backups behind doors. Keep that shelf restrained: a crowded row of bottles is awkward to reach over a toilet. Small, washable containers can make individual items easier to retrieve.
Assess moisture resistance beyond the material label
Bathroom suitability depends on the complete construction: panels, finish, exposed edges, joints, hardware, and care requirements. Labels such as “wood,” “bamboo,” or “metal” do not establish how a particular cabinet will handle your room.
- Engineered wood: Check the stated bathroom suitability, edge finishing, and instructions for wiping up water.
- Solid wood or bamboo: Look for clear finish and maintenance information; avoid assuming the material makes every surface moisture resistant.
- Metal: Check the coating, hardware, and care guidance, especially around joints and feet.
- Plastic components: Assess rigidity, shelf support, and load limits alongside ease of cleaning.
Treat “water resistant” as a claim to investigate, not permission to place the cabinet in direct spray. Follow the product’s placement guidance, use bathroom ventilation, and address recurring condensation or leaks.
Buy usable storage, not just extra shelves
Measure your tallest bottle, your preferred storage basket, and a folded towel before choosing shelf spacing. Internal dimensions may be reduced by hinges, door tracks, and the back panel. Adjustable shelves help only if their available positions suit those items.
For example, a household storing toilet rolls and small toiletries may benefit more from a shallow enclosed cabinet than a deep unit. Someone storing towels needs to check their folded dimensions and retrieval space. Keep frequently used items within comfortable reach and follow each shelf’s stated load limit.
Check stability and installation requirements
Freestanding does not automatically mean that wall attachment is unnecessary. Read the installation instructions before purchase. Confirm the required anchoring method, whether suitable fixings are supplied, and whether your wall construction needs different hardware.
In a rental, establish whether the required attachment is permitted. Do not substitute adhesive strips for specified fasteners without the manufacturer’s approval. Uneven flooring and thick baseboards also deserve attention because they can affect how the unit stands and meets the wall.
A final comparison checklist
- Confirm the internal opening clears the toilet and tank.
- Check that the tank lid can be removed.
- Test access to every flush control.
- Match lower braces against the valve, hose, and toilet base.
- Allow doors and nearby fixtures their full movement.
- Verify usable shelf dimensions and load limits.
- Read moisture-care and anchoring instructions.
- Check the return terms before assembling the unit.
If two cabinets provide enough storage, favor the one that leaves easier access to plumbing and more room for cleaning. That breathing space is useful every week—and especially valuable when the toilet needs attention.