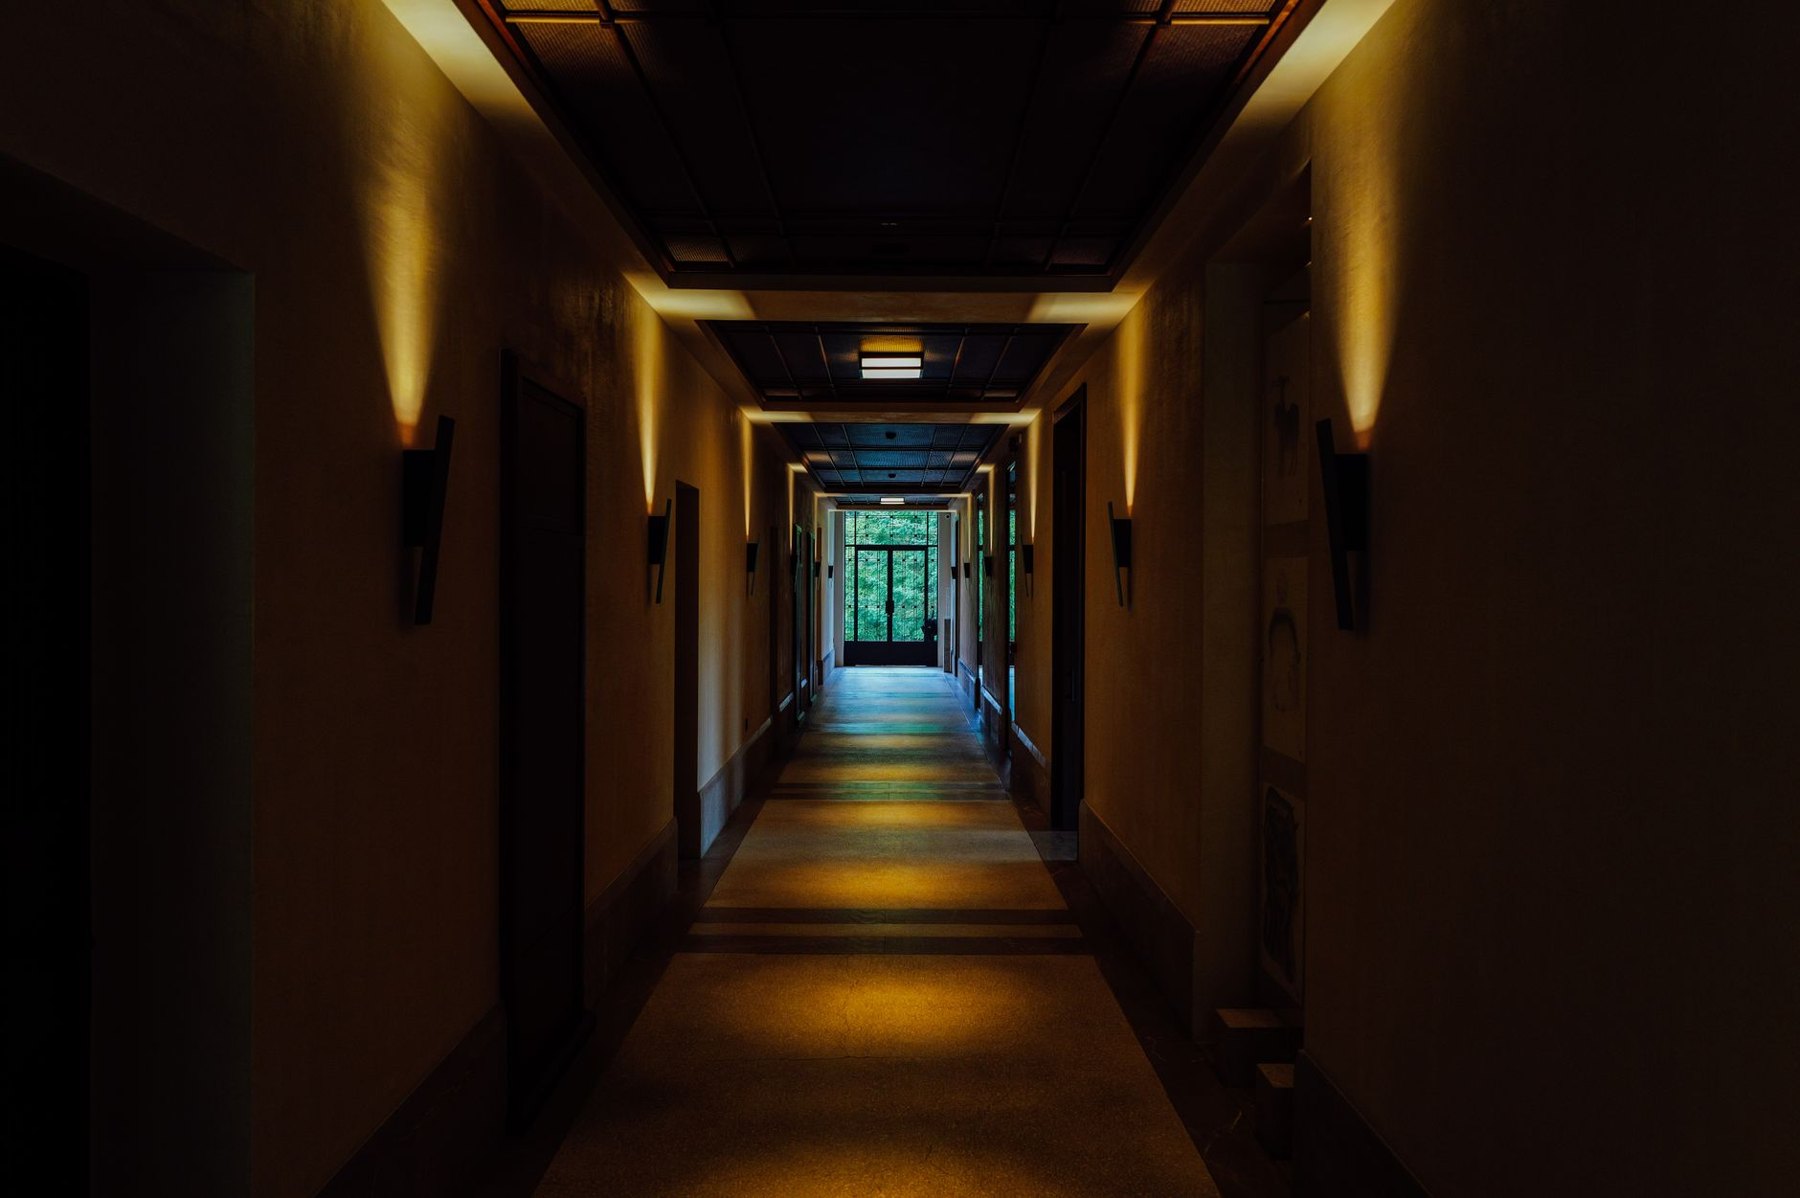
A hallway night light needs to reveal the floor, doorways, and obstacles before you reach them. It also needs to stay out of your eyes when you turn over in bed. The best choice depends as much on outlet position and bedroom sightlines as it does on brightness.
Start by walking your usual nighttime route: bedroom to bathroom, kitchen, or stairs. Note where you first need light, which doors remain open, and whether furniture blocks the available outlets. Then choose a light that detects your approach and directs its output onto that route.
Which type works best for your hallway?
There is no single best format for every layout. Use this comparison to narrow the options before looking at individual models.
| Type | Best suited to | Main advantage | What to check |
|---|---|---|---|
| Plug-in, downward-facing | Hallways with an accessible, well-positioned outlet | No battery charging or replacement | Beam direction, outlet clearance, and brightness control |
| Battery-powered with removable mount | Routes where outlets are missing or poorly placed | Flexible mounting height and location | Battery access, mounting requirements, and sensor position |
| Rechargeable with magnetic mount | Locations where the light can be removed easily | Convenient removal for charging | Charging access, attachment security, and operating modes |
| Shielded or adjustable-output light | Hallways beside open bedroom doors | More control over glare and spill | Whether the LEDs remain visible from the bed |
For a straightforward corridor, a dimmable plug-in light with a shielded downward beam is a useful starting point. For a hallway with corners or inconvenient outlets, separate battery-powered lights offer more placement freedom. Near bedrooms, prioritize a low minimum brightness and controlled light direction.
Plug-in versus battery-powered lights
Choose plug-in when the outlet is in the right place
A plug-in model avoids a charging routine, but its usefulness depends on the outlet. An outlet behind a console may hide the sensor or block the beam. One directly opposite an open bedroom door may put the illuminated face in view from the pillow.
Check the body dimensions and plug orientation before buying. A bulky light may obstruct the neighboring receptacle. Look at where the sensor sits, too: an exposed lower edge does not help if furniture covers the sensor above it.
Choose battery power when placement matters more
Battery-powered lights let you position illumination near a doorway, along a turn, or away from bedroom sightlines. They are especially useful when the only outlet would send light in the wrong direction.
The tradeoff is maintenance. Activation frequency, output setting, and shutoff duration all affect how often batteries need attention. Compare stated runtime only when the operating conditions are explained; a runtime figure alone does not describe your hallway's usage.
For rechargeable models, choose a location you can reach comfortably. For replaceable-battery models, check whether the battery compartment opens while mounted or requires removing the whole unit. Either arrangement can work, provided routine access is simple.
Compare detection coverage, not just distance
A long detection range is less useful than a sensor that notices you at the right moment. Read the specified detection angle and range together, then compare them with your approach direction. A sensor aimed across the corridor may behave differently from one facing someone walking straight toward it.
Detection coverage and lighting coverage are separate things. A light might detect movement near the bedroom door while illuminating only a small patch farther down the hallway. You need both functions to line up with your route.
- At the bedroom exit: check that the light activates before you step into the dark section.
- At a corner: assess each approach separately; do not assume one sensor covers both sides.
- Near furniture: keep the sensor clear of cabinet edges, baskets, and hanging coats.
- With pets: consider whether their usual route crosses the detection area and causes unwanted activations.
For an L-shaped hallway, two restrained lights may be more useful than one brighter unit at the bend. Position each to serve its own section, then test the transition between them. Avoid relying on detection through a doorway or around a corner unless the product documentation explicitly supports that behavior.
Match activation duration to the journey
A short activation period limits how long light spills into nearby rooms. It can also leave you in darkness if you pause outside the bathroom, pick up something from the floor, or walk slowly.
A longer period gives you more time but keeps the hallway illuminated after you have returned to bed. Adjustable timing is useful when you do not yet know what suits the household. Check whether continued movement restarts the timer; that behavior matters as much as the listed shutoff interval.
Test the entire journey, including opening doors and stopping briefly. If the light goes out while you still need it, adjust the duration or placement. Where controls are limited, choose a model whose documented timing fits your routine rather than assuming every motion light behaves the same way.
Choose brightness and beam direction together
The aim is to distinguish the walking surface and obstacles comfortably. Maximum brightness is only part of that decision. A small exposed LED can be distracting in a dark bedroom, while a shielded light may place useful illumination on the floor with less direct glare.
Look for adjustable brightness, especially a suitably low setting. A warm light option may feel more comfortable at night, but color alone does not solve glare: a bright warm light facing the bed can still be intrusive.
Downward beams
These are worth considering when the main task is seeing the floor. Check the product images for the actual light exit rather than relying on the label. A downward-facing opening can still be visible from a low viewing angle or reflect from glossy flooring.
Diffused faces
A broad diffuser spreads light across its surface. That can make the source less concentrated, but the illuminated face may remain conspicuous through an open door. Judge its position from inside the bedroom.
Adjustable heads or shields
These offer more control where the mounting position is awkward. Confirm whether adjustment redirects the beam, the sensor, or both. Moving a shared head to reduce glare could also change where motion is detected.
Place lights to protect bedroom sightlines
- Start at the bed. With the bedroom door in its usual nighttime position, identify which hallway surfaces and outlets are visible.
- Keep the source out of direct view. Consider a side wall or a position beyond the doorway, provided it still detects your exit.
- Aim at the route. Illuminate the walking surface and relevant obstacles instead of sending light toward the bedroom opening.
- Test both directions. Walk toward the bathroom and back; a placement that works on the outward trip may activate late on the return.
- Check from the pillow. Have someone trigger the light, then assess direct glare and reflected spill.
For example, an outlet facing the bedroom may be convenient but visually intrusive. A removable battery light on a side wall could give you more control. Conversely, a well-positioned plug-in light may solve the same problem without adding battery maintenance. Let the room layout decide.
Check controls, mounting, and everyday upkeep
Look for a darkness-sensitive automatic mode if you want motion activation only when ambient light is low. Confirm the available modes in the documentation: motion-only, dusk-to-dawn, and constant-on operation serve different needs. Check whether brightness and timing adjustments are accessible after installation.
For adhesive mounts, read the surface requirements and removal instructions. Do not assume an adhesive is suitable for your paint or wallpaper. A magnetic attachment still needs a secure mounting surface, and screw-mounted bases require an appropriate fixing location.
Keep the sensor window and light outlet clean according to the manufacturer's instructions. If performance changes, check for depleted batteries, a changed mode, or newly obstructing furniture before replacing the unit.
A practical final buying checklist
- The power source suits an accessible location.
- The sensor covers your approach before you enter darkness.
- The timer accommodates walking and brief pauses.
- The lowest brightness reveals the route comfortably.
- The beam stays out of direct bedroom sightlines.
- The mount suits the surface and allows routine maintenance.
Once installed, try the light over several ordinary evenings before committing to additional units. Adjust one thing at a time—position, brightness, or duration—so you can tell what helps. A good hallway setup should make the next step easy to see while letting everyone nearby settle back to sleep.